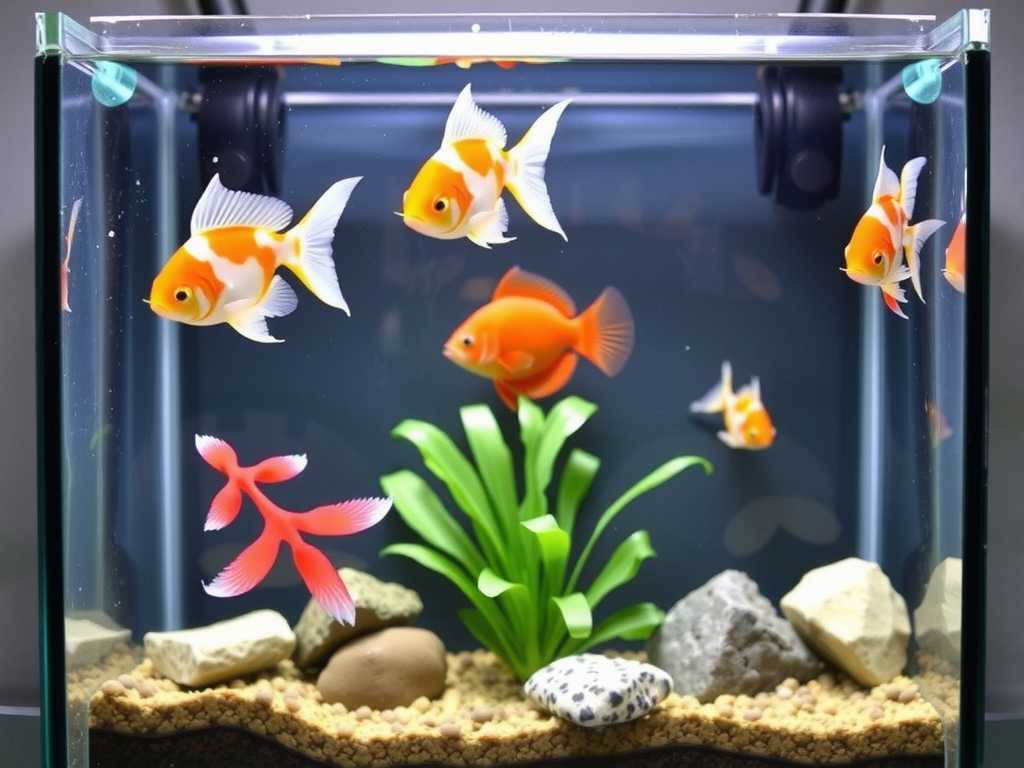
How to Acclimate Ornamental Fish: A Complete Guide to Prevent Shock and Death
Bringing home new ornamental fish is an exciting moment. Yet, this transition is the most critical and dangerous period in their lives. A sudden change from the pet store bag to your aquarium can be a death sentence, leading to rapid health decline or immediate loss. This tragic outcome, known as acclimation shock, is heartbreakingly common but entirely preventable. The key to success lies in understanding and executing a proper acclimation process. This comprehensive guide will walk you through every step, explaining the science behind the stress and providing clear methods to ensure your new aquatic pets transition smoothly and safely into their forever home.
Understanding Acclimation Shock: The Silent Killer

Acclimation shock occurs when fish are subjected to rapid changes in water parameters. Their bodies cannot adjust quickly enough, leading to severe physiological stress. Think of it like a human going from a sauna directly into an ice bath – the shock to the system is immense. For fish, this shock compromises their immune system, damages gills and scales, and can lead to fatal osmotic imbalance.
The primary culprits are differences in:
- Temperature: Even a 2-3 degree Fahrenheit difference can cause significant stress.
- pH Level: A shift of more than 0.5 units can be harmful.
- General Hardness (GH) and Carbonate Hardness (KH): These measure mineral content and buffering capacity, crucial for osmoregulation.
- Total Dissolved Solids (TDS): The overall concentration of everything dissolved in the water.
- Nitrogen Compounds: Ammonia and nitrite levels should always be zero in your established tank.
A 2021 study in the Journal of Aquatic Animal Health emphasized that gradual acclimation reduces cortisol (the primary stress hormone) levels by over 60% compared to direct transfer, significantly boosting survival rates in sensitive species.
")
Essential Pre-Acclimation Checklist
Before you even open the transport bag, ensure your aquarium is ready. Proper preparation is the foundation of successful ornamental fish introduction.
1. Quarantine Tank: Your First Line of Defense A separate, cycled quarantine tank is non-negotiable for serious hobbyists. It isolates new fish for 2-4 weeks, allowing you to observe for illness and treat it without medicating your main display tank. This step, as recommended by experts like the Veterinary Centers of America, prevents the introduction of parasites like Ich or contagious bacteria to your established community.
2. Ensure Main Tank Stability Your display tank must be fully cycled, with zero ammonia and nitrite. Perform a partial water change (20-30%) a day before the new arrival to ensure pristine water quality. Double-check that filters are running, heaters are set correctly, and there are ample hiding places to reduce territorial aggression from existing fish.
3. Dim the Lights Turn off the aquarium lights for at least the first few hours. This calms both the new fish and the current inhabitants, reducing stress and initial curiosity that can lead to chasing.
4. Gather Your Acclimation Tools You will need: a clean bucket or container (used only for the aquarium), a siphon hose or airline tubing, a net, and a timer. Avoid using water from the transport bag in your main tank, as it may contain waste or pathogens.
Step-by-Step Acclimation Methods
There are two primary methods for acclimating aquarium fish. The choice depends on the fish's sensitivity and the condition of the transport water.
The Float and Drip Method (Recommended for Most Fish) This is the gold standard for preventing fish transportation shock. It gradually equalizes both temperature and water chemistry.
- Float: Turn off the room lights. Place the sealed bag gently onto the surface of your aquarium or quarantine tank water. Let it float for 15-20 minutes to equalize temperature.
- Open & Secure: Open the bag and roll down its top to create a buoyant "collar." You can clip it to the side of the tank for stability.
- Start Dripping: Use airline tubing and a control valve to set up a siphon drip from your tank into the bag. Tie a loose knot in the tubing to regulate flow to 2-4 drips per second.
- Drip and Monitor: Allow the water volume in the bag to double. This typically takes 45-90 minutes. For very sensitive fish (like wild-caught discus or shrimp), you may drip for 2+ hours.
- Net and Release: Carefully net the fish from the bag and place it into the tank. Discard all the bag water. Never pour the bag water into your aquarium.
The Floating-Only Method (For Hardy Fish Only) This is a faster, less rigorous method suitable only for very hardy fish like common zebrafish or guppies, and only when time is severely limited.
- Float the sealed bag for 15-20 minutes.
- Open the bag, add about half a cup of tank water to it.
- Repeat every 5-10 minutes, 4-5 times.
- After 30-40 minutes, net the fish and transfer it to the tank.
Post-Acclimation Care and Monitoring
Your job isn't over once the fish is in the water. The next 24-48 hours are crucial.
- Observe Closely: Watch for signs of distress: rapid gill movement, lethargy, hiding, or refusal to eat. Some stress is normal, but symptoms should lessen within a few hours.
- Withhold Food: Do not feed the new fish for the first 24 hours. This allows their digestive systems to settle and reduces waste in the closed system.
- Maintain Pristine Water: Test your water parameters daily for the first week. Be prepared to do a small water change if you detect any ammonia spike.
- Introduce Food Gradually: After 24 hours, offer a tiny amount of high-quality food. Remove any uneaten food after a few minutes.
Special Considerations for Sensitive Species
- Marine Fish & Invertebrates: Drip acclimation is mandatory. For corals and shrimp, extend the drip time to 2-3 hours. Use a refractometer to match salinity precisely.
- Discus and Wild-Caught Fish: These fish require exceptionally slow and careful ornamental fish care acclimation. Use a quarantine tank, drip for 2+ hours, and ensure very soft, acidic water if that is their requirement.
- Bag Water Issues: If the fish has been in the bag for over 24 hours, ammonia from waste can become toxic. In this case, float for temperature, then net and transfer the fish within 15 minutes to get it out of the toxic water, prioritizing temperature acclimation over chemical acclimation.
Frequently Asked Questions
How long should the entire acclimation process take? For most freshwater fish, plan for 60-90 minutes using the drip method. For sensitive or saltwater species, allocate 2 to 3 hours. Rushing is the number one cause of acclimation failure.
Can I acclimate multiple fish from different bags at the same time? Yes, but you must acclimate them in separate containers. Never mix water or fish from different store bags directly, as they may carry different pathogens. Use multiple buckets or bags during the drip process.
My new fish is lying on the bottom after acclimation. Is this normal? Some lethargy is common, but a fish lying on its side or breathing heavily is a sign of severe shock. Ensure water quality is perfect, dim the lights, and add a gentle air stone for oxygenation. Avoid the temptation to move or handle the fish further, as this adds stress. If symptoms persist beyond 12 hours, consult a veterinarian specializing in aquatic animals.
A patient, methodical approach to acclimation is the single greatest gift you can give your new ornamental fish. It sets the stage for their long-term health, vibrant colors, and natural behaviors. By understanding the risks of shock, preparing your tank properly, and diligently following the drip acclimation process, you transform a potentially deadly experience into a safe and gentle welcome. Remember, in fishkeeping, the slow way is almost always the right way. Your patience will be rewarded with thriving aquatic life for years to come.
发表评论